Introduction to Spray Foam Insulation
Spray foam insulation has gained significant popularity in recent years, often regarded as a superior solution for enhancing energy efficiency within homes and commercial properties. Understanding how to remove spray foam insulation is essential for homeowners looking to make improvements or repairs. In this comprehensive guide, we’ll delve into what spray foam insulation is, its benefits, and the reasons why you might need to remove it.
What is Spray Foam Insulation?
Spray foam insulation is a two-component foam that expands upon application, creating an airtight seal that minimizes airflow. Made typically from polyol resin and isocyanate, this insulation option is known for its versatility and efficacy. It adheres to a variety of surfaces including wood, drywall, and concrete, making it a popular choice for both new constructions and renovations. Once cured, spray foam becomes rigid, offering both thermal and acoustic insulation qualities that can significantly improve a building’s energy efficiency.
Benefits of Spray Foam Insulation
- Energy Efficiency: Spray foam insulation provides a high R-value per inch, which means it is highly effective at preventing heat transfer.
- Air Sealing: It forms an airtight barrier, eliminating drafts and helping to maintain interior temperatures.
- Mold and Mildew Resistance: Due to its chemical composition, it can help deter moisture, reducing mold and mildew growth.
- Longevity: Spray foam insulation can last many years without need for replacement, making it a durable investment.
- Noise Reduction: The density of spray foam also serves as a sound barrier, limiting exterior noise from entering the living space.
Reasons for Removal
While spray foam insulation offers numerous advantages, certain situations may necessitate its removal. These include:
- Mold Growth: If moisture issues arise, mold can develop within the foam, potentially spreading risks to air quality.
- Renovation Needs: Home renovations or changes in insulation standards may require the removal of existing foam.
- Improper Application: In cases where the foam has been improperly applied, it might need to be removed to ensure proper insulation.
- Allergen Concerns: Some homeowners may develop sensitivities to the materials in spray foam.
Preparing for Removal
Before embarking on the process of removing spray foam insulation, it’s crucial to take comprehensive steps to ensure a safe and efficient operation. Preparation lays the groundwork for a successful removal process and minimizes potential risks.
Gathering Necessary Tools
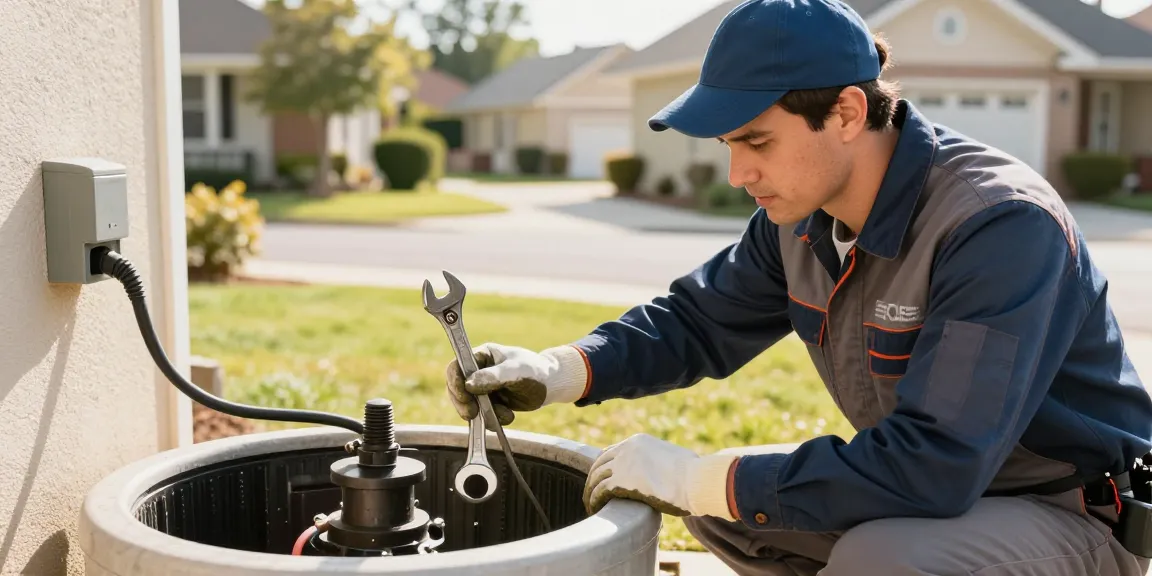
To effectively remove spray foam insulation, you will need the following tools:
- Utility Knife: Essential for cutting through foam.
- Sawzall or Reciprocating Saw: Useful for larger areas of insulation.
- Scraper: A flat tool to help lift foam off surfaces.
- Shop Vacuum: For cleaning up debris and dust.
- Protective Gear: Including goggles, gloves, and a dust mask.
Safety Precautions and Gear
Safety should be your top priority during the removal process. The following precautions are essential:
- Personal Protective Equipment: Always wear goggles to protect your eyes from debris, gloves to protect your skin, and a dust mask to avoid inhaling particles.
- Ventilation: Ensure that the area is well-ventilated to avoid inhaling fumes released during the removal process.
- Check for Hazardous Materials: Inspect the area to ensure no electrical or plumbing materials will be damaged during removal.
Planning the Workspace
Having a well-organized workspace enhances efficiency. Consider the following:
- Clear the Area: Remove furniture, décor, and any items that could obstruct movement or be damaged.
- Designate a Debris Collection Area: Set up a place for removed materials to keep the workspace safe and organized.
- Gather All Tools First: Before beginning, ensure all necessary tools are on hand to avoid interruptions.
Step-by-step Guide on How to Remove Spray Foam Insulation
Armed with the right tools and preparation, you can follow this step-by-step guide for effectively removing spray foam insulation.
Initial Assessment and Testing
Begin by inspecting the area where the foam is installed. Look for:
- Extent of Coverage: Determine how much foam is applied and where it is located.
- Condition of the Foam: Check for signs of damage, mold, or excessive wear.
- Connection Points: Take note of how the foam contacts structural elements, as this may affect removal techniques.
Techniques for Effective Removal
There are several methods to efficiently remove spray foam insulation:
- Cutting: Use a utility knife to cut away large sections of foam. For thicker areas, a reciprocating saw may be necessary.
- Scraping: After cutting, use a scraper to lift any remaining foam from the surface.
- Softening Agents: In some cases, it may be useful to apply a softening agent (following safety protocols) to help lift the foam off surfaces.
Common Challenges & Solutions
While removing spray foam insulation may seem straightforward, various challenges can arise:
- Difficulty in Access: For foam installed in tight spaces, use smaller tools like hand saws.
- Adhesive Issues: In cases where foam is strongly adhered to surfaces, utilizing a heat gun can help loosen it.
- Dust Generation: Wearing a quality dust mask and using a shop vacuum simultaneously can mitigate dust inhalation.
Finishing Touches After Removal
Once you’ve removed the spray foam insulation, the following steps ensure a clean and effective transition to the next phase.
Disposing of Removed Materials
Proper disposal of removed spray foam insulation is crucial. Check local regulations for guidance on:
- Recycling Options: Some centers may accept spray foam for recycling.
- Landfill Guidelines: Ensure that waste is disposed of in accordance with city or county regulations.
Repairing and Repainting Walls
After the insulation has been removed, wall repairs are often necessary. Consider the following:
- Filling Holes and Cracks: Use appropriate patching compounds to fill any surface imperfections.
- Sanding: Smooth the repaired areas to create a uniform surface for painting.
- Painting: Choose a high-quality primer and paint for best results, ensuring the repaired surface blends with the surrounding areas.
Alternative Insulation Solutions
Post-removal, you may want to explore alternative insulation options:
- Fiberglass Batts: An affordable choice for insulation in various cavities.
- Cellulose Insulation: This eco-friendly option is composed of recycled paper and treated for fire resistance.
- Rigid Foam Boards: Ideal for areas requiring additional insulation but limited space.
Frequently Asked Questions (FAQs)
How long does it take to remove spray foam insulation?
The removal process typically takes several hours to a full day, depending on the size of the area and the amount of insulation present.
Can I remove spray foam insulation on my own?
While it is possible to remove spray foam insulation independently, consider your comfort level with DIY projects and safety precautions.
What tools do I need for removal?
You will primarily need a utility knife, reciprocating saw, scraper, and protective gear to safely complete the removal.
Is it safe to breathe during removal?
It’s crucial to wear a dust mask during removal, as dust and particles can be harmful if inhaled.
What’s the best way to dispose of spray foam waste?
Check local guidelines for disposal. Recycling is preferred when available; otherwise, use a landfill that accepts such materials.